Though the MacBook Pro hardware is simply put amazing, I could not learn to love macOS in the last 3 months and its quirks started to greatly impede my productivity. By no means am I enamored of Windows, but it fits my usual workflow way better than macOS ever did. I’m a Linux fan in my heart, but for work, I am often required to use MS Office products so this need for seamless compatibility left only one option.
Using Boot Camp to install Windows 10 on a relatively new (2018) Mac was surprisingly easy, so don’t expect a long article this time. If you are using older hardware, you might need to utilize a Pendrive for the install too, but this article will deal with the simple case only.
First I needed to download a Windows 10 ISO file directly from Microsoft. This is really easy and free of charge, just Google “Download Windows 10 ISO” to get the image you need.
Windows 10 can be installed without a product key, just click “I don’t have a product key” during install. This will only limit personalizations like setting the wallpaper, but after giving Windows a thorough test drive, if you stick with it you should buy a licence down the road.
If you have no special needs, probably the Windows 10 Home 64-bit edition is the one you need. Download the ISO file straight to your Desktop and launch Boot Camp. It will automatically find the ISO on your Desktop, but if you saved it somewhere else, just select it with the [Choose…] button.
Next, you need to decide how much storage space you wish to allocate to macOS and Windows. You can do this by dragging the slider between them. Take into consideration how you intend to utilize both of the operating systems. If you plan to play games on one of them, you probably need to give it way more space than the other.

To finish setting up Boot Camp and starting the installation, just click on the [Install] button and follow the onscreen instructions.
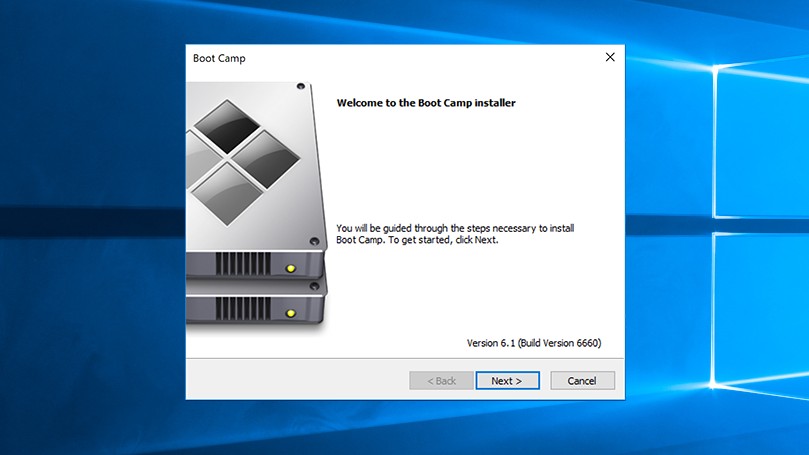
Soon the computer will restart and the standard Windows 10 setup process will start. The only thing you have to be aware of is that Wifi and other special Mac hardware elements will not be operational during the install process due to lack of built-in drivers, but after it finishes the Boot Camp Installer will launch automatically and will set them up for you.
If you restart your computer from now on, it will boot into Windows as the default option, but you can press the [Option] key during boot to choose macOS if you need to go back again.
You can also click the Boot Camp icon in the system tray and the “Restart in macOS…” option there, but on my system, this was unfortunately broken at the time of writing this article.


